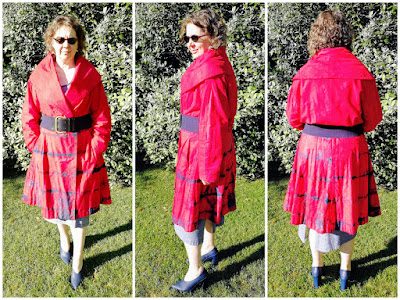
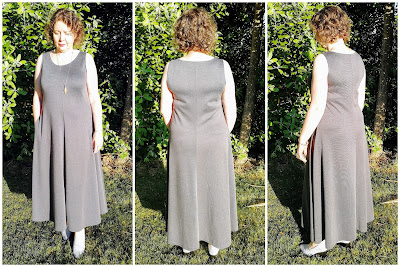
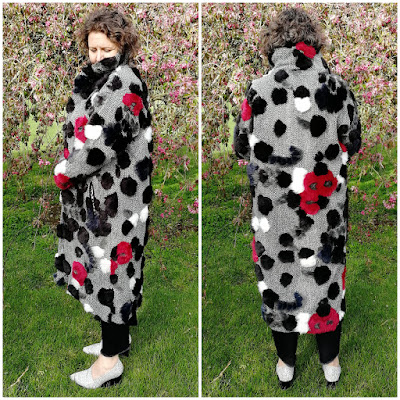
Even though this coat is now six years old it is still a favourite and attracts lots of comments. On its first outing it went for a show and tell visit to the fabric dyers at Crafty Christchurch where it was photographed by a journalist from our local free lifestyle magazine Metropol and even featured in a tiny picture on the events page. If I was really dedicated to documenting my sewing I would still have a copy of the magazine picture posted in my scrapbook but alas I am not and the magazine has long since left the building.
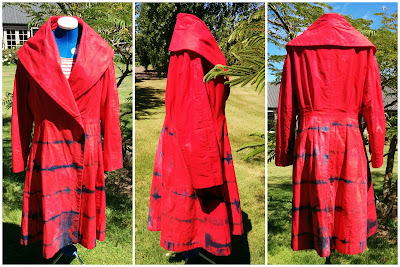
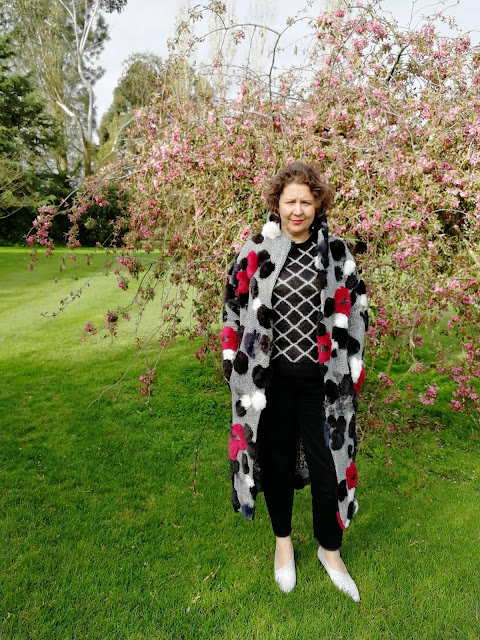
The finished garment
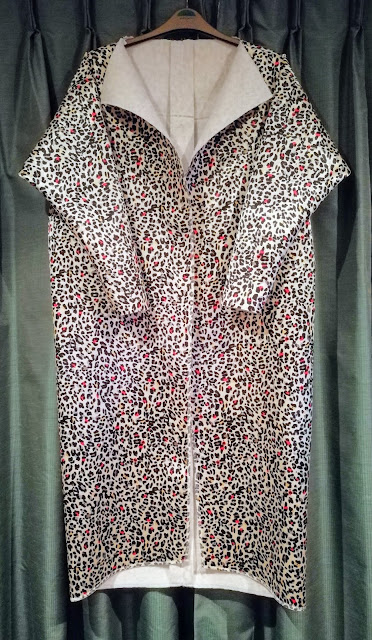
The photos on the dress form were taken a few years ago (pre-blog) when I had a long session of photographing my me-made clothes as a record of my sewing adventures, as I realised how much I enjoyed flicking through the photo album of my embroidery yet hadn't bothered photographing my sewing. The photographs of the coat being worn were taken a couple of weeks ago on a very sunny Saturday.
The fabric
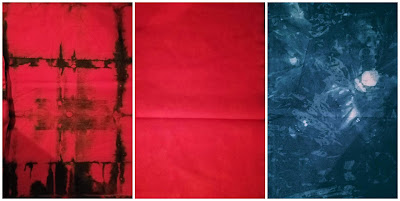
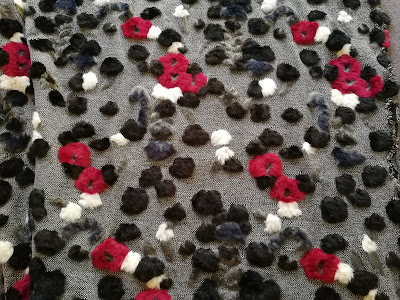
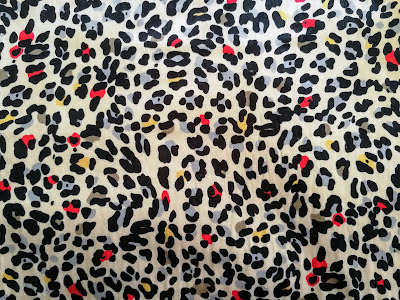
The fabrics are a hand-dyed red with a matching indigo shibori overdyed fabric. Two one metre pieces of fabric were purchased at the 2012 Crafty Christchurch event in the Geodome in Hagley Park. When I decided to make this coat the original fabric was posted to one of the quilters to get some more dyed to match as I needed three metres of each fabric. I also bought a metre piece of indigo dyed fabric to make a belt but then used a purchased belt already in my possession.
The overdyed fabric is used for the coat skirt with the plain red being the upper body, sleeves and facings. The fabrics were difficult to photograph to show their true colours. The pictures of the finished garment give a better colour representation.
The overdyed fabric is used for the coat skirt with the plain red being the upper body, sleeves and facings. The fabrics were difficult to photograph to show their true colours. The pictures of the finished garment give a better colour representation.
Only Catherine McDonald (Mallee Textiles) of the original group of quilters still dyes fabric for sale, which is a shame as they created some fabulous fabrics.
The hand-dyed cotton was underlined with an heirloom cotton batting that is almost like flannelette but more loosely woven. The lining is a navy blue coloured silk twill.
The pattern
Vogue's description is very loose fitting, unlined, double breasted coat has front extending into collar, shoulder pads, dropped shoulders, top stitched darts,side front pockets and seams, stitched hems, three-piece sleeves with button tab, thread loops, raw edge finish and overlapped seams. Purchased belt.
The suggested fabrics are: lightweight melton, boiled wool, wool double knit. Lining to cover the shoulder pads and for the pockets: china silk, crepe de chine.
With my normal disregard for the designer I made my coat in a lovely cotton fabric, sewed the seams as normal right side together and added a lining.
The pattern alterations
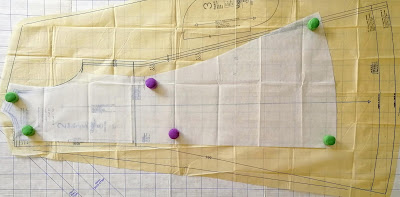
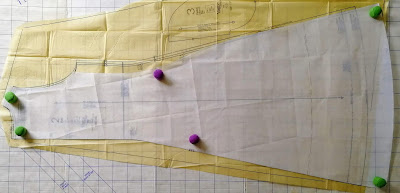
As Vogue indicates in the description this pattern is very loose fitting. For me this means entirely too big and the size to make is chosen based on the finished garment measurements printed on the pattern. The size 10 provided the amount of ease I wanted whilst based on the pattern sizing I should have sewn size 16. The finished garment measurements for the size 10 are bust 43½"; waist 38"; and hip 58½". This supposedly fits someone with a bust of 32½"; waist 25" and hip 34½". No wonder a belt is needed.
 |
| My pattern back and front on top of the original pattern tissue |
The other alterations were to lengthen the bodice 1" above the lengthen and shorten line. Use fisheye darts for the front and back outer garment pieces instead of the open darts ending at the waistline. Double the size of the darts in the front collar from ⅝" to 1¼" to reduce the width slightly.
As I wanted to use two fabrics, one for the upper body and one for the skirt a line was marked on each of the pattern pieces with the seam allowance being added directly on the fabric as it was cut out.
New pattern pieces were made for the front lining from the front pattern piece minus the front facing. The back pattern piece was used as is but placed on the fabric fold with extra fabric at centre back to make a pleat for ease of movement. The side front pattern piece was used for both the outer garment fabric and the lining.
The sewing
The sewing instructions assume you are using a fabric that doesn't fray and that the coat is unlined. As neither of these is true for my coat I followed the sewing instructions but adapted them where necessary. Seams were sewn right sides together rather than overlapped, darts were sewn together not slashed and overlapped.
As the coat was lined I didn't bother binding the edges of the pockets but I did make belt loops of the appropriate size for my RTW belt. The pattern description mentions thread loops which appear to be for the belt but the pattern directions don't mention the making of thread loops. For my wide belt thread loops would have been inadequate, proper fabric belt loops were needed!
The lining fabric was perfect for the covered snaps which were extremely easy to make using the pattern instructions. Ingenious to put both circles of fabric over the ball half of the snap, then snap the ball and socket sections together so the circles of silk are held perfectly in place whilst you draw up the gathers and fasten off - one circle for each half of the snap. The hole in the silk was made using an awl rather than cutting the silk.
